View, complete, edit, or delete tasks
In sBizzl, users can view, complete, edit, and delete projects or deal tasks with ease. These functionalities empower users to efficiently manage their tasks and streamline project workflows. Here's a breakdown of how you can perform each action:
To view, complete, edit, and delete project /deal task
- Navigate to Project > Project task or Sales> Deal task
- You can select any project task or deal task from the list to view its details.
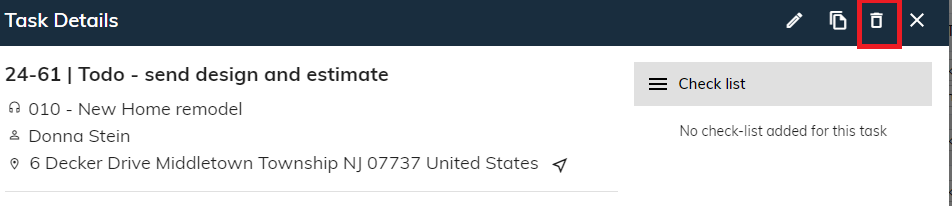
- It will open the task details view modal as shown below:
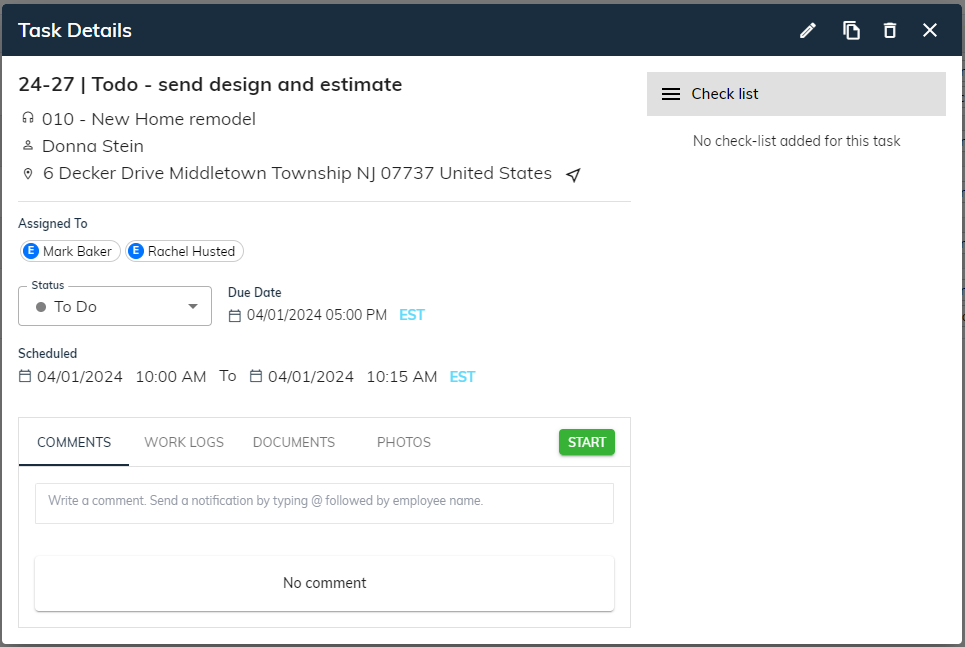
In the view modal, located at the upper-left corner, you can find details such as the Project code with name or Deal code with name, along with the customer's name and address.
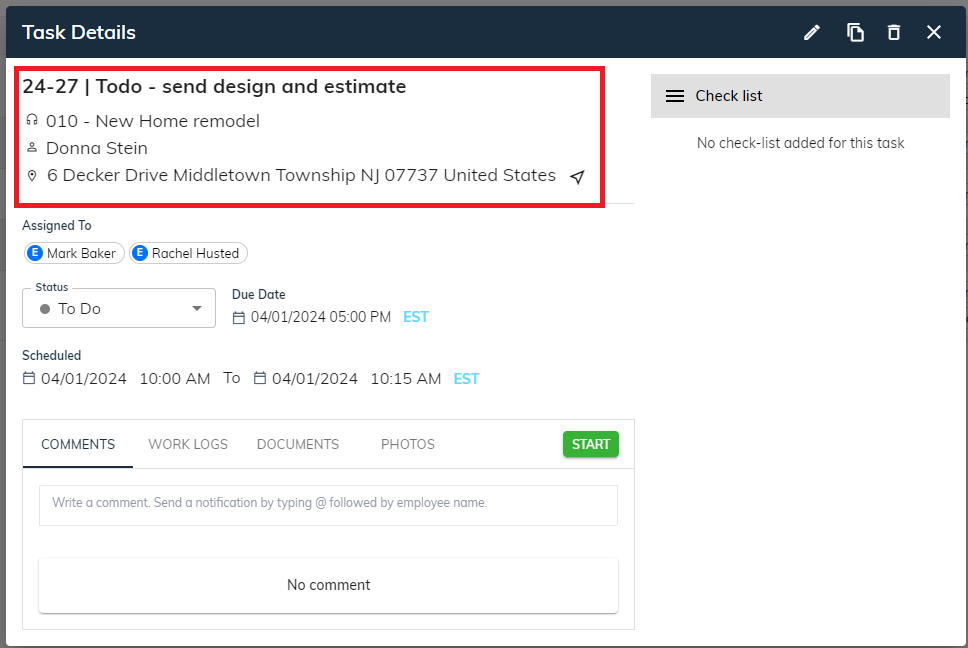
- Clicking on the Project/Deal code and name will redirect you to the respective deal/project details page.
To Know more about Add new Project
To Know more about Add new deal
To know more about Add tasks in projects and deals
- Clicking on the customer name will navigate you to the customer details page. To know more about Customer details
- Clicking on the address will lead you to Google Maps, displaying the location of the address and selecting the navigation icon ➤ will display the route from your current location to the specified address.
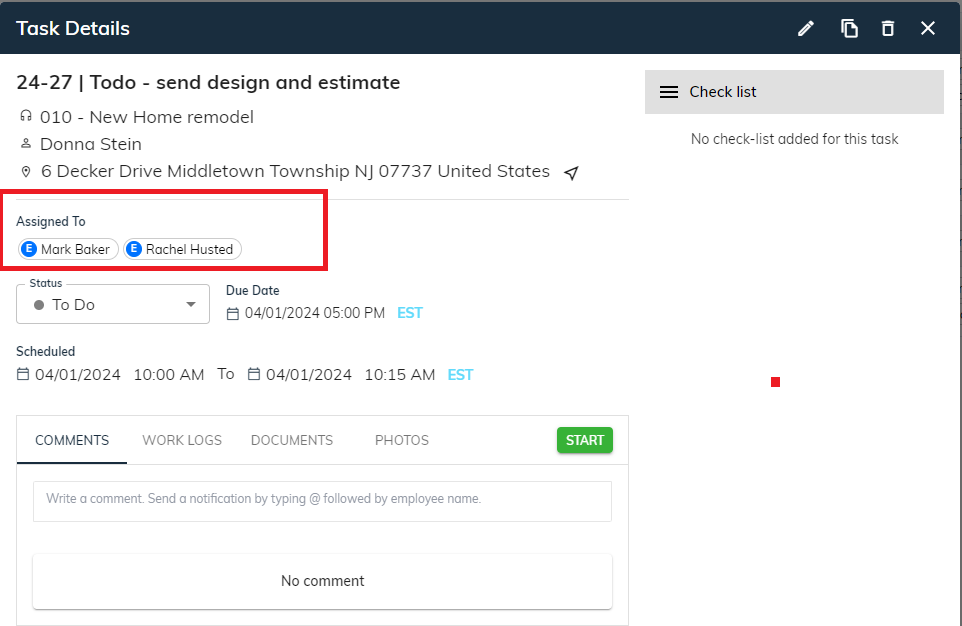
- Assigned to: The employee's name or the role of the employee or vendor name to whom this task is assigned will be displayed.
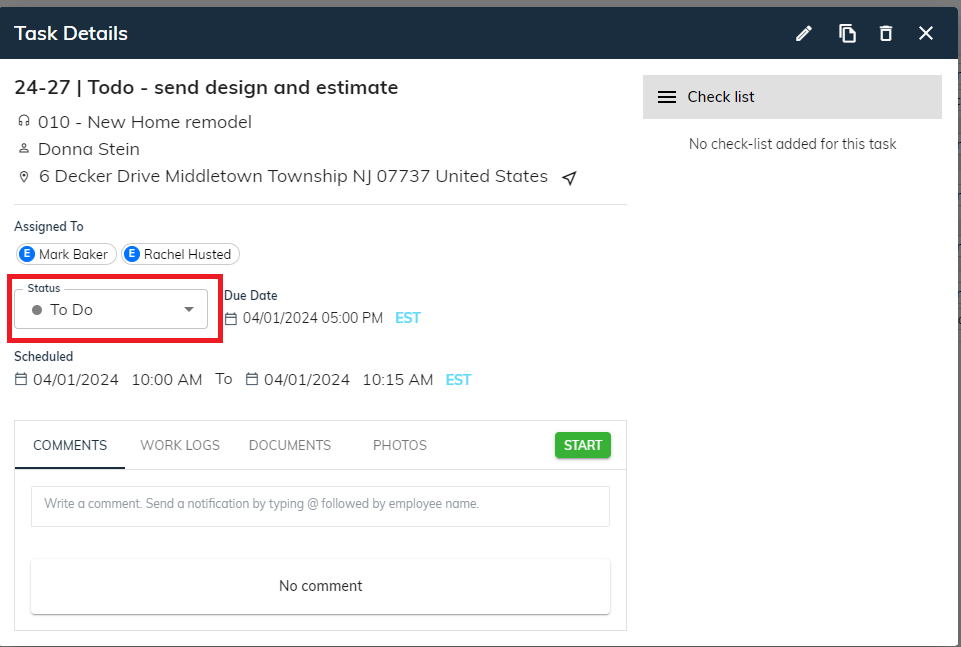
Status: Users can view or modify the status of the deal or project task by selecting the dropdown arrow ⮟. They can change the status of the task to 'To-Do,' 'In Progress,' or 'Completed,' as demonstrated in the image below."
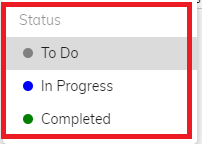
Note: The default status for project or deal tasks will be "To Do."
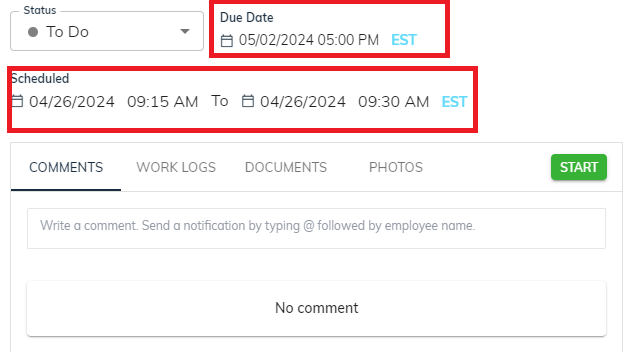
- Due date: The due date indicates when the task is scheduled to be completed, allowing you to track its deadline.
- Scheduled: Users can see the scheduled date and time of the project or deal task.
Note: sBizzl facilitates the option to view in alternative time zones if they differ from the current one.
Below the schedule section in the task view window, there are tabs for COMMENTS, WORKLOGS, DOCUMENTS, and PHOTOS.
Add Comments:
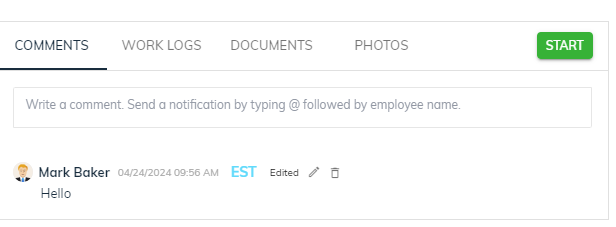
- Users have the option to include any comments they wish to associate with the task, and if they want to mention a specific employee in the comment, they should use the format "@employee name". If that employee has enabled notifications for either email or desktop, they will receive a notification. (To know more about notifications settings)
- Click on the “🖊️” (edit) icon to update the comment details.
- Click on the “ 🗑 ” (delete) icon to delete the comment.
Note: Only the user who has posted a comment in the comment section can edit or delete that specific comment.
Add worklogs
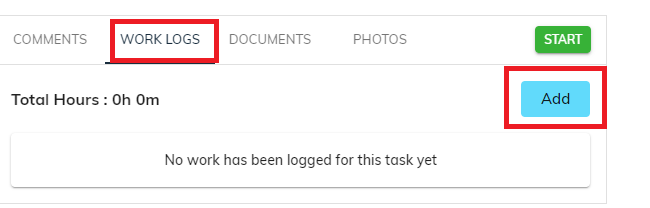
- Click on Work logs next to Comments on the Task Details page.
- Click on the Add button.
- Click on Work logs next to Comments on the Task Details page.
- Click on the Add button.
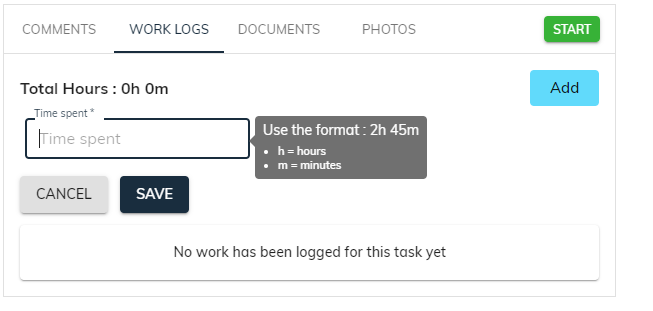
- Input the time spent on the task using the Hour-Minute format and then click on " SAVE”
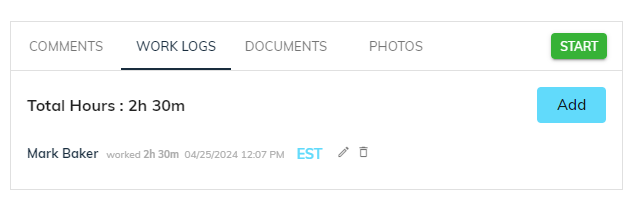
- Click on the “🖊️” (edit) icon to update the work log details.
- Click on the “ 🗑 ” (delete) icon to delete the work log.
Note: Only the user who has entered a worklog in the worklog section can edit or delete that specific worklog .
- Another method is available where users can initiate a task by clicking the start button, and upon completion, they can click the stop button to automatically the time spent on that task is added in work logs.
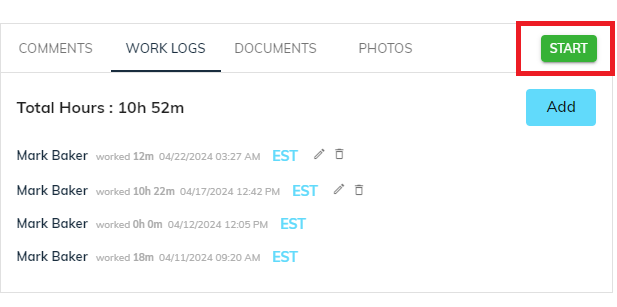
Upon clicking the Start button, the task timer will commence, and it will be visible on the main menu bar, as illustrated below.
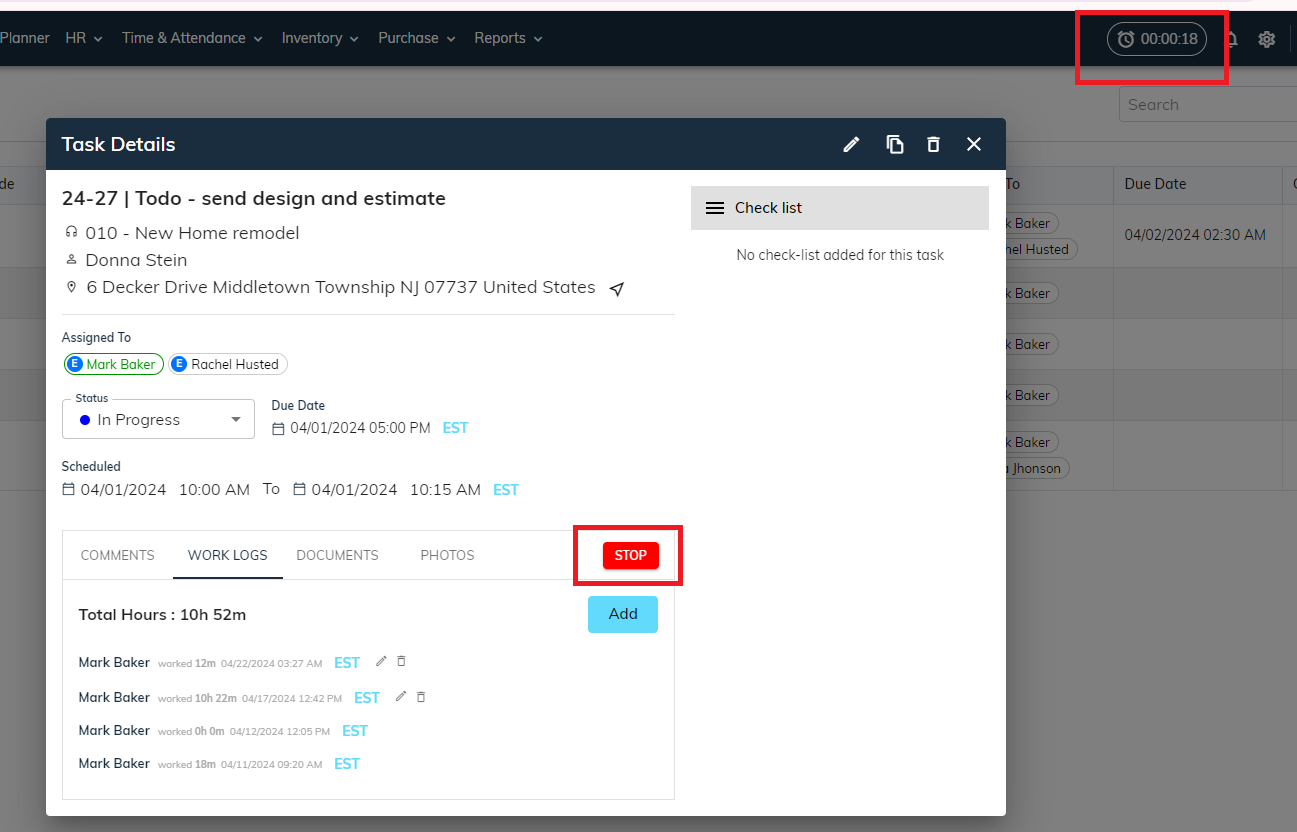
Subsequently, clicking the stop button concludes the task, recording the time duration spent on it. This information will then be displayed in the Work Logs section on the task detail page.
Add Documents:
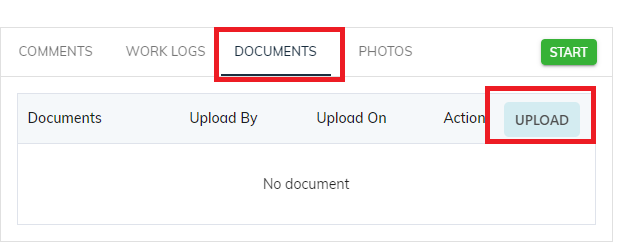
- Click on the Documents Tab on the Task Details page.
- Click on the Upload button and select the documents that you want to upload.
- Additionally, users have the option to Drag and Drop Documents into the document section for uploading the documents
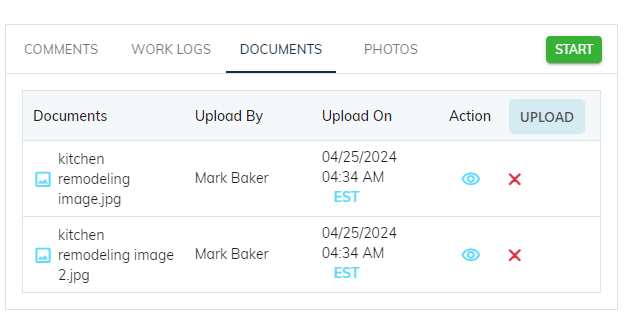
- After the documents are uploaded, they will be displayed as illustrated below.
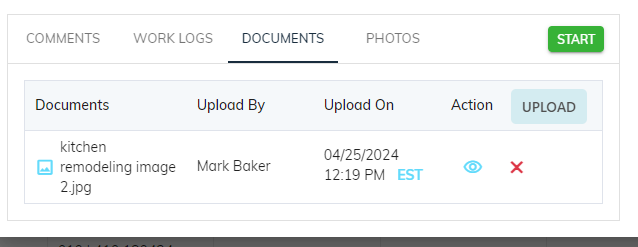
- Once you upload the documents, you can see the document/file name, date and time of the uploaded document, person name who had uploaded the document along with the Action column to perform various operations. Click on 👁 to view the document.
- To Delete the document click on the Delete icon ✖.
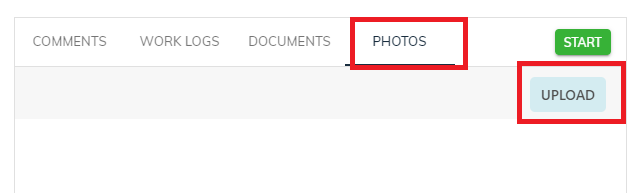
- Click on the Photos Tab on the Task Details page.
Click on UPLOAD and select a Photo you want to upload from your computer/Phone.
- Additionally, users have the option to drag and drop documents into the Photos section for uploading the photos.
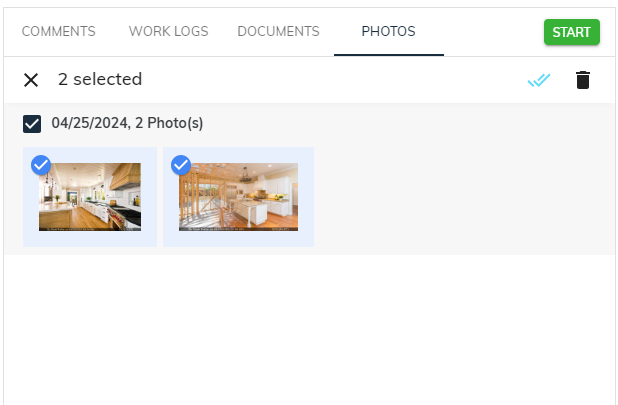
- Once the image is uploaded, it will appear as shown, indicating the total number of photos uploaded and the date of each photo upload.
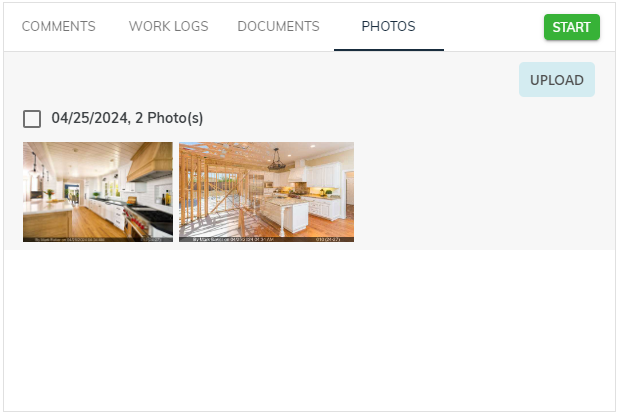
- Photos will be organized by date and grouped accordingly within the form.
- Any photos uploaded in the "Photos" section will also appear in the "Documents" section.
- Any photos uploaded in the "Photos" section will also appear in the "Documents" section.
- If the checklist is added it will display as shown below

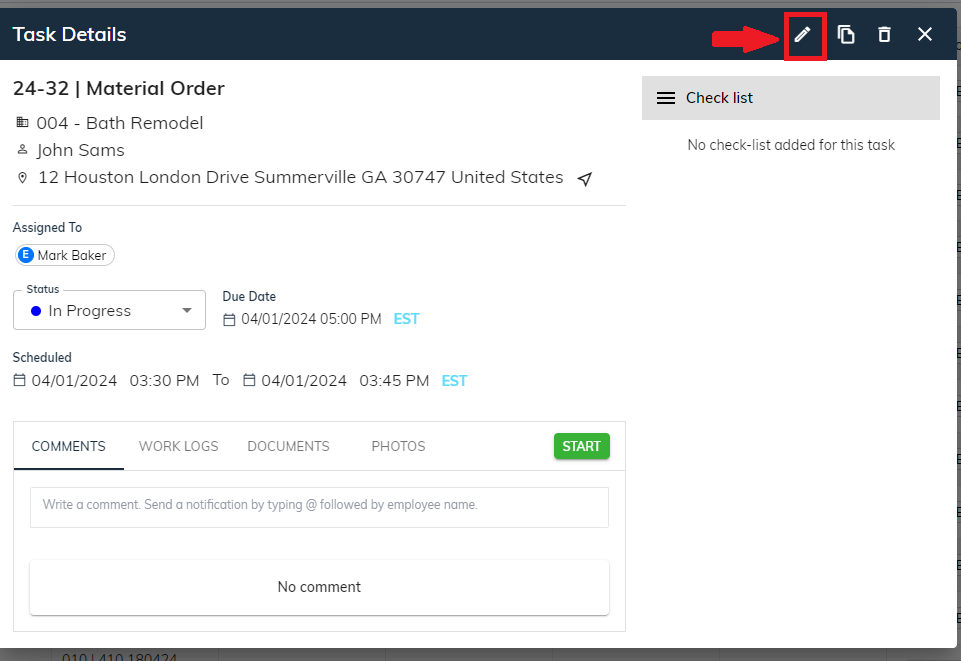
Edit task:
In sBizzl, users can easily manage and update task details to ensure smooth project management. Editing task details allows users to customize various aspects of a task according to project requirements. Here's how you can edit task details in sBizzl:- Users can modify the task by selecting the edit icon "🖊️" as shown below
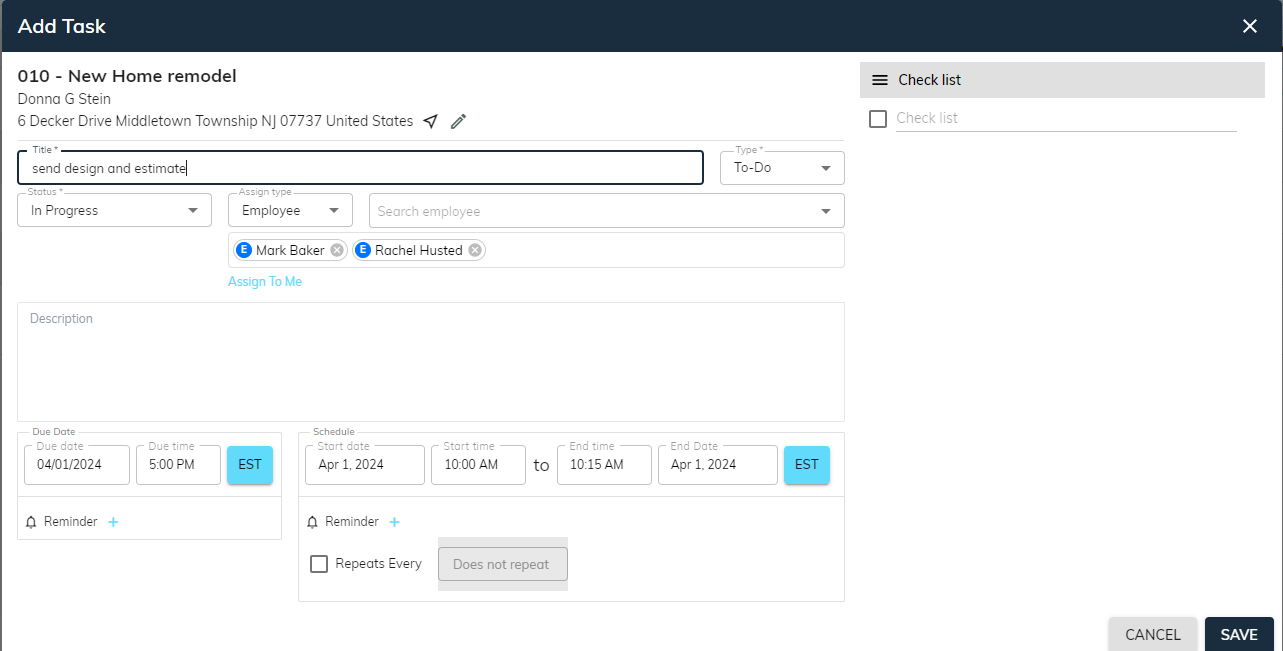
- Upon clicking on the edit icon, this window will be displayed.
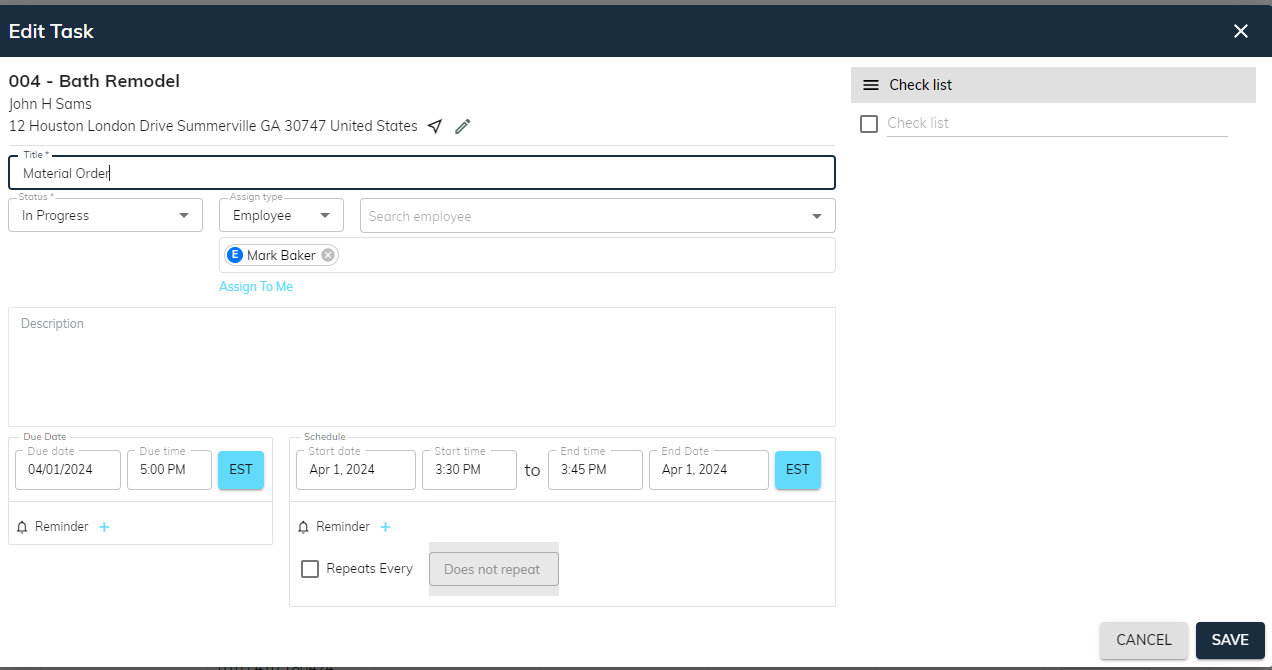
- Users can easily edit existing addresses by clicking the “🖊️” (edit) icon displayed beside the address. As well as effortlessly access locations on Google Maps by clicking the location button before the “🖊️” (edit) icon.
- Task title: Users can effortlessly modify the task title.
- Status: Assigning a status to each task is mandatory. While "To Do" is pre-selected for new tasks, you have the flexibility to choose the most fitting status for your workflow.
- Assign Type: By default “Employee” is pre-selected, users can choose other options such as “Role” or “Vendor”.
- Save time assigning tasks with sBizzl's search functionality. Simply choose the assigned type (Employee, Role, or Vendor) and utilize the search bar to find the perfect match for your needs.
- Assign To Me: Users can efficiently assign tasks to themselves by clicking the “Assign To Me” button.
While editing the task
- Description: It can be optionally added for further details.
- Checklist: This section allows you to capture detailed notes and information relevant to the task. It functions similarly to a checklist but offers more flexibility for capturing additional details.
- Due Date: Specify the due date for completing the task to ensure timely delivery and project completion.
- Reminder: Never miss a deadline again with sBizzl's advanced reminder system. Add multiple reminders per task, set the timing value (e.g., 10 minutes), and choose the reminder type (Minutes, Hours, Days, and Weeks) to ensure you receive timely notifications and stay on top of your tasks.
- Choose how early you want to send notifications based on user selection (e.g., 10 minutes).
- Schedule Task: Schedule the task by selecting a specific time for its execution, helping in better time management and resource allocation.
- (Note: The scheduled date is optional if users can not select this date so the task will be saved as an unscheduled task.)
- The system empowers you to manage task schedules by picking a date directly.
- Task scheduling conflicts for employees occur when there are clashes in their assigned tasks, leading to challenges in managing their workload effectively. When editing a task, if there's a conflict in task scheduling, a dialogue box will appear.
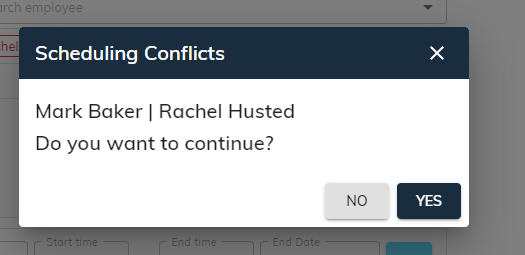
- Users have the option to either proceed further by selecting "Yes" or "No" buttons, or they can close the window by clicking on the "X" icon.
Reminder: Add multiple reminders per task, set the timing value (e.g., 10 minutes), and choose the reminder type (Minutes, Hours, Days, and Weeks) to ensure you receive timely notifications and stay on top of your tasks.
- Choose how early you want to send notifications based on user selection (e.g., 10 minutes).
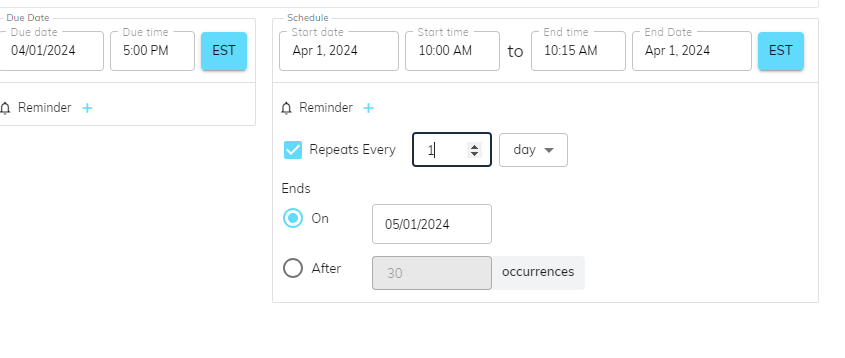
- Repeat Task: Simply select the ☑ checkbox to activate recurrence, then define the interval (in number) and choose the desired timeline (day, week, month, or year) for a precise and customized recurring task schedule.
- For tasks that need to be repeated weekly, sBizzl provides a user-friendly interface for selecting the specific weekdays (e.g., Monday, Tuesday, and Wednesday) on which the recurrence should occur.
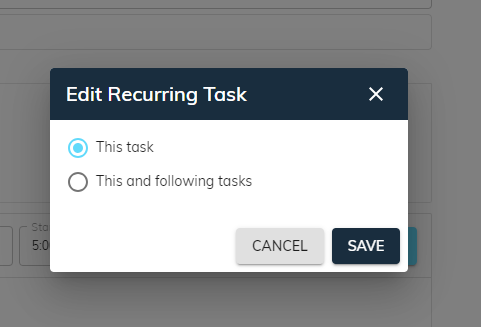
- When editing a repeat task entry, two options will appear: "This task" and “This and following task” Users can select accordingly.
- After modifying the details, simply select "Save" to preserve the alterations.
Clone task:
- To clone a task is to create an identical copy of it. This feature allows users to efficiently replicate tasks without needing to recreate them from scratch. Cloning tasks is particularly useful for recurring or similar tasks within projects, saving time and effort for project managers and team members. Additionally, it ensures consistency and accuracy in task execution by replicating all relevant details, such as titles, descriptions, deadlines, and assigned users.
To duplicate the task, users must click on the clone icon located adjacent to the edit icon

Upon selecting the clone option, the following window will appear.
Just click on "Save" to duplicate the task effortlessly.
Delete Task:
- To delete a task, click on the trash bin icon "🗑" next to the clone icon.
- After clicking the trash bin icon "🗑" confirmation dialog box for deletion will appear as shown below.
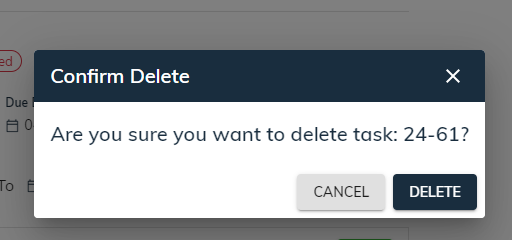
- If the user clicks the "Delete" button, the task will be removed from the list permanently. Clicking "Cancel" will return them to the task details window, and selecting the "X" icon will close the confirmation dialog box.
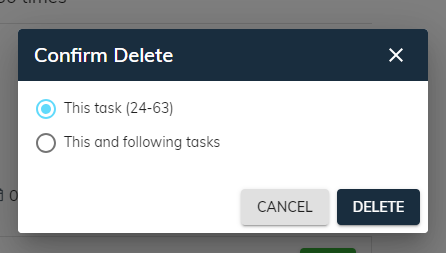
- Repeat task: When deleting a repeat task entry, two options will appear: "This task" and “This and following task” Users can select accordingly.
Complete task:
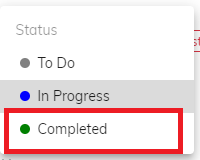
In Sbizzl, users have the flexibility to update the task status to "Completed" once they finish a task. This feature allows for easy tracking and organization of tasks within the platform. By marking tasks as completed, users can maintain an accurate overview of their progress and prioritize ongoing work effectively. Additionally, this status update helps teams collaborate more efficiently by providing clear visibility into task statuses and project milestones. To mark tasks as completed, the user can go to Status and from the dropdown select Completed as illustrated below.
- Once a task is marked as "Completed " it will appear in the list of completed tasks.
- You can also view, complete, edit, and delete tasks from the planner to know more about the planner click here