Payroll report
sBizzl offers a feature where users can effortlessly generate comprehensive payroll reports for employees. With just a few clicks, these reports can be compiled and sent directly to the designated recipients, streamlining the payroll process and ensuring accuracy.
Payroll
- Navigate to Payroll > Payroll.
- Below is the Payroll Screen display.

- The payroll report includes columns for start and end dates, providing clear visibility into the pay period covered by the report.
- The payroll report displays columns for both regular worked hours and any overtime hours, giving a detailed breakdown of the employee's compensation.
- The payroll report includes a status column displaying the payroll status, such as Draft when in progress and Completed once finalized.
- The worked hour and overtime hour columns in the payroll report are displayed in decimal format by default. Users can toggle a switch to view these values in minutes format as shown below.

Add payroll
- Click on Add Payroll in the upper right corner.
- Below is the add payroll modal display
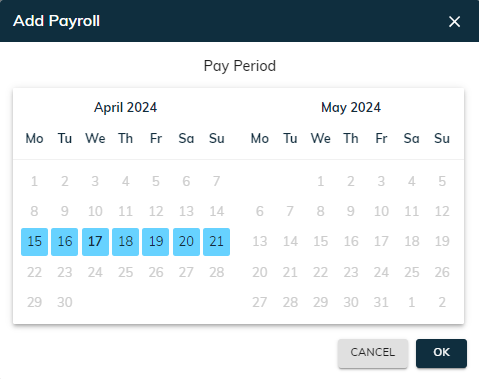
- Users can modify payroll settings by navigating to the payroll configuration section, where they can adjust payroll week, cycle, and email recipients. Learn how to change payroll configuration.
- User can choose the payroll period based on the settings configured in the payroll configuration section.
- User can click on a particular week to select it as the payroll period.
- When the payroll status is draft, it signifies that a new payroll report has not yet been created.
Payroll filter
- Simply click on the filter icon to apply the filter on the payroll.
- Below is the filter modal display.
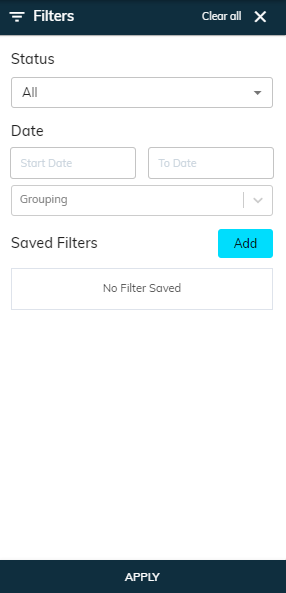
- The Status field is used to indicate the specific status of a payroll record, such as all, draft, completed.
- The start date and end date fields display the selected date range for the payroll period in the payroll report.
- The Add button allows users to save specific filters for future use in the payroll reports.
- The Apply button is used to apply the selected filters and display the relevant results on the list.
Payroll details
- Clicking on payroll opens the detailed view, showcasing various elements like worked hours, overtime, and payroll status for the selected period.
- Below is the payroll detail screen display.

- In the payroll detail view, there are two sections: Payroll Detail and Employee Timesheet. Each section provides specific information related to payroll and employee time entries.
- The "Payroll Detail" section displays information such as the start and end dates of the payroll period, the creator's name, worked hours, and overtime hours.
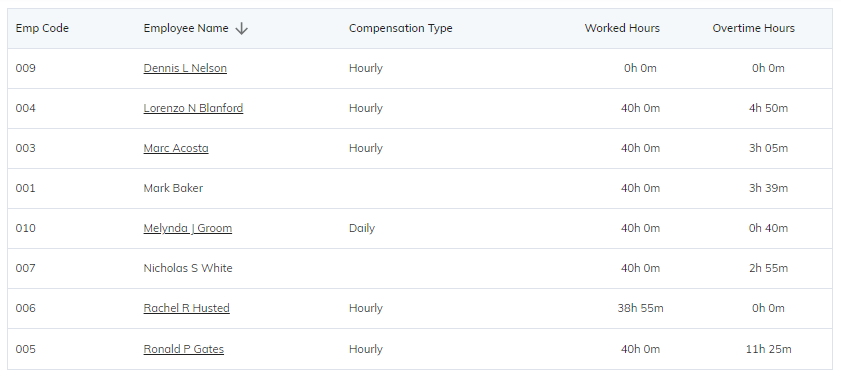
- The Employee Timesheet section is structured as a table, showing details like employee code, employee name, compensation type, worked hours, and overtime hours as shown below.
Send payroll report
The Send payroll report functionality allows users to email the payroll report to designated recipients effortlessly.
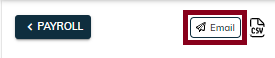
- Clicking on the email button opens a modal where users can send the payroll report via email as shown below.
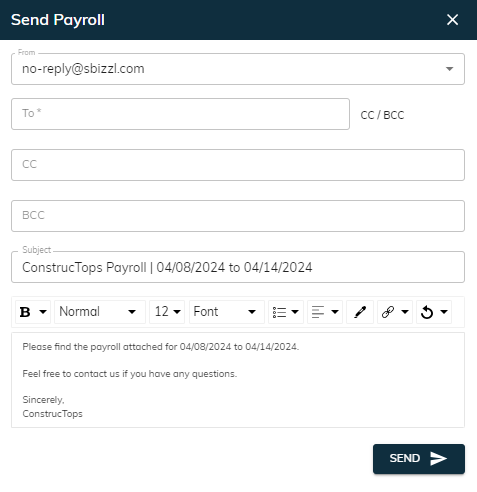
- The From field is where users specify the sender's email address when sending the payroll report.
- If a user configures a Gmail account, emails will be sent using that account; otherwise, emails will be sent from [email protected]. Learn how to configure gmail account.
- The To field is for the recipient's email, while cc and bcc allow for additional recipients to be included in the email. Learn how to configure payroll To, Cc, and Bcc email fields.
- The Subject field is where you enter a brief description or title for the email message you're sending.
- The Description field allows you to provide additional details or context about the content of your email.
- Clicking the Send button will dispatch the email with the attached payroll to the specified recipients.
Download payroll report CSV file
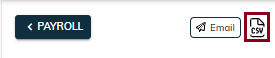
- Simply click on the CSV icon to download the csv file as shown below.
- The payroll CSV file includes details like the total worked hours, overtime hours, payroll creator's name, the payroll period from start to end date and payroll status.
Payroll hours
- Clicking on an employee table row will navigate to the detailed employee payroll hour, displaying comprehensive information about their hours worked and overtime.
- Below is the Payroll Hours screen display
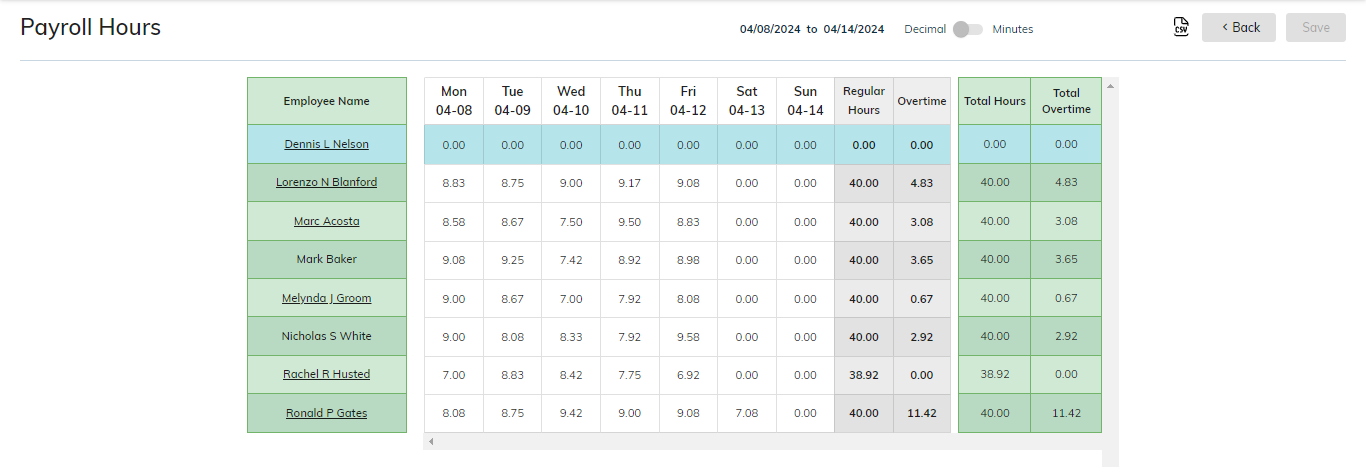
- Payroll hours display the employee's name, their work hours for each day of the week, the total work hours, and the overtime hours.
- Users can edit an employee's work hours by clicking on the work hour field and modifying the displayed value.
If a user modifies a worked hours, the time adjustment cannot be altered worked hours.
- Users can toggle between decimal and minutes format for work hours by clicking on the switch provided.
- The Save button allows users to save any adjustments made to an employee's work hours in the payroll record.
- The Back button allows users to navigate back to the previous screen.
Download payroll hours CSV file
- Simply click on the CSV icon to download the csv file as shown below.

- The CSV file includes employee timesheet records, detailing the worked hours, overtime hours, and the respective day of the week.
Mark as complete payroll
The Mark as Completed button finalizes the payroll process, indicating that all necessary adjustments and reviews are done.

- Clicking the Mark as Complete button triggers a confirmation modal, ensuring that the user intends to finalize the payroll process.
- Once the payroll is marked as completed, the user cannot modify any records to maintain the integrity and consistency of the payroll data.
- Once the payroll process is complete, the Mark as Completed button is hidden, and the Reset to Draft button is displayed as shown below.
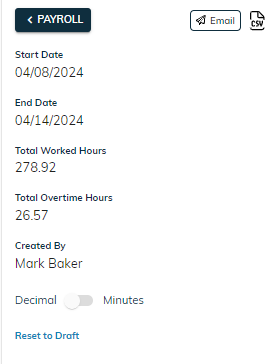
- Clicking on Reset to Draft changes the payroll status to draft. In this status, the user can modify the records before finalizing the payroll process.