Batch Packing
sBizzl offers a convenient batch packing facility, allowing employees to select a box and pack products efficiently. Once products are picked, employees can choose the appropriate box size, ensuring the items are packed securely for shipment. This feature streamlines the packing process, enhancing warehouse productivity and accuracy.
Before batch packing, employees need to select the batch and choose the batch outbound option to start the packing process, ensuring correct product handling.
Learn more about how to select the batch.
Learn more about how to select the batch outbound.
The Batch Packing screen is displayed as shown below.
In the overall batch packing touchable screen, users can manually touch and interact with the interface, allowing for easy handling and control of the packing process.
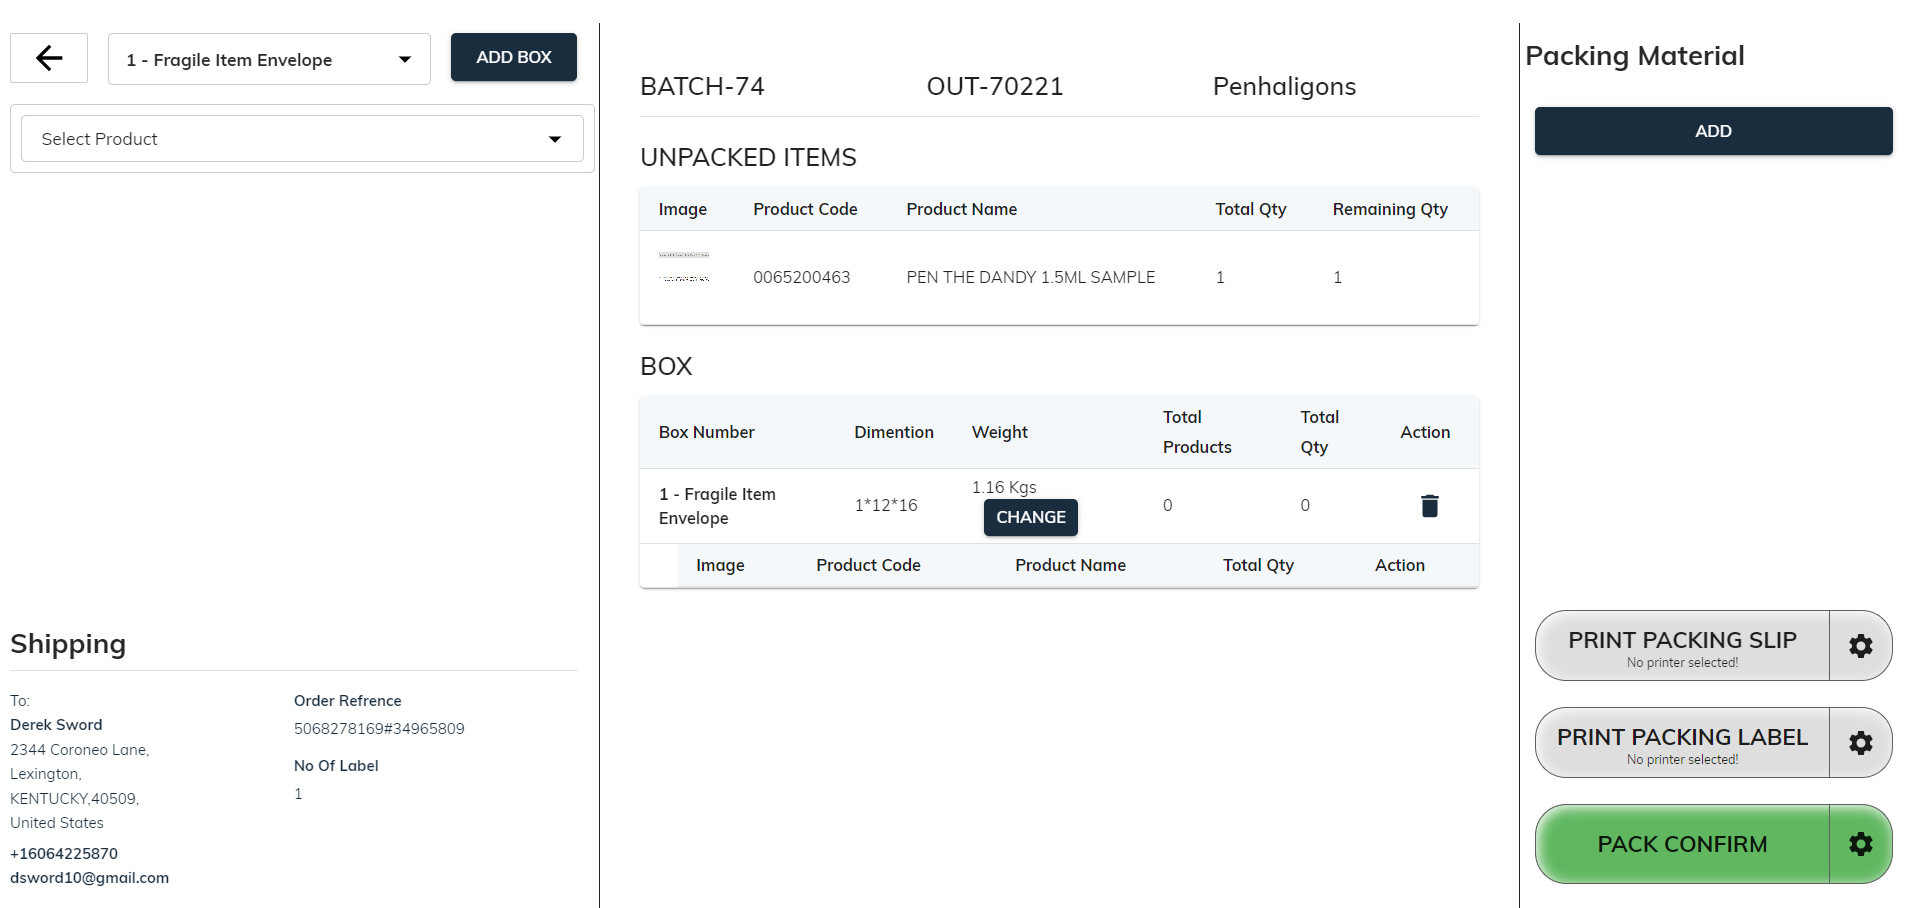
The batch packing screen has three sections:
Box and Product Selection and Shipping Address,
Packed and Unpacked Items,
Packing Material, Printer Selection, and Pack Confirmation section.
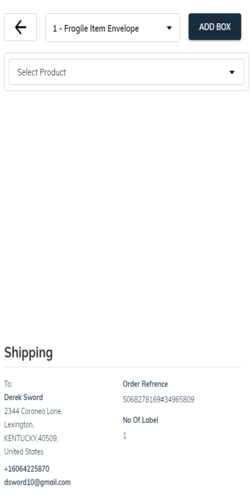
Box and product selection and shipping address
In this section, users can select a box, choose the product to pack, and view the shipping address, ensuring proper packing and accurate delivery details.
If no box is selected, a box list modal will display, prompting users to select an appropriate box before proceeding with the packing process.
Click the "Add Box" button to open the Delivery Packages (Box) list, where users can select the appropriate box for packing the products.
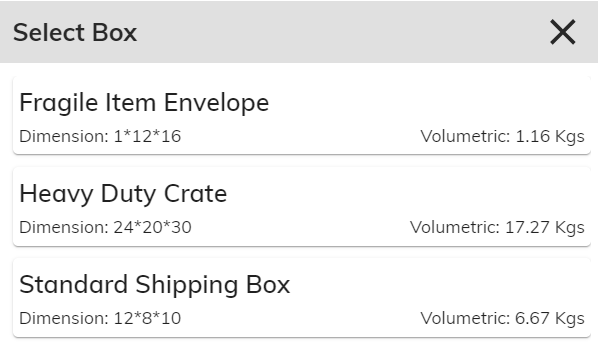
Users can scan the box barcode for quick selection, or manually choose a specific box from the list for packing.
When a user wants to change the selected box, they can click on the box name field to open a dialog, allowing them to choose a new box for packing.
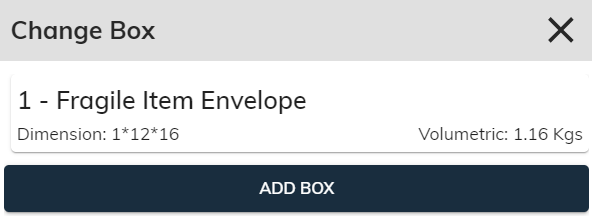
The Box card displays important details, including the box number, box name, length, height, width, and volumetric weight, helping users select the appropriate box for packing.
Select product
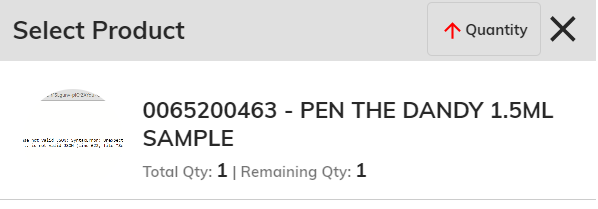
The "Quantity" button allows users to display the list in ascending or descending order, making it easier to sort and manage products based on their quantities.
The Product card shows essential details: product image, code, name, total quantity, and remaining quantity, providing a clear overview for efficient packing and inventory management.
Users can either scan the product barcode for quick selection or click on a specific product to choose it from the list, streamlining the packing process.

The Product card displays the product name, product code, remaining quantity, and an option to select the quantity to pack, helping users manage packing efficiently.
Users can click the "-" and "+" buttons to decrease or increase the quantity to pack, allowing for precise adjustments in the packing process.
Click the "PACK" button to pack the selected quantity of products, or click "PICK ALL" to pack the entire quantity of the product, streamlining the packing process.
Shipping
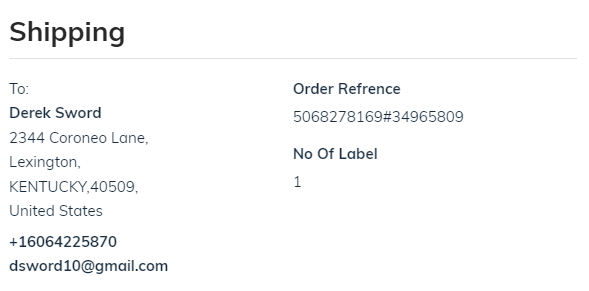
The shipping address section displays the "Ship To" details, including customer name, address, email ID, phone number, reference number, and number of labels, ensuring accurate delivery information.
Packed and Unpacked Items

The upper section displays key information: batch code, outbound code, and customer name.
The "Unpacked Items" section displays products that are yet to be packed, helping track items still needing packing.
The "Unpacked Items" section shows the product image, code, name, total quantity, and remaining quantity for items yet to be packed.
Click on an unpacked product to select it and display details in the left-side section for further actions.
The Box section displays the selected box and the products packed into that particular box, providing a clear overview of what’s been packed and ensuring accurate packing.
The Box table displays the box name, dimensions, total products, total quantity, and action options, allowing users to review box details and manage packing efficiently.
Use the action options in the product table to delete a product from the box, allowing for quick adjustments to the packed items and maintaining accurate packing records.
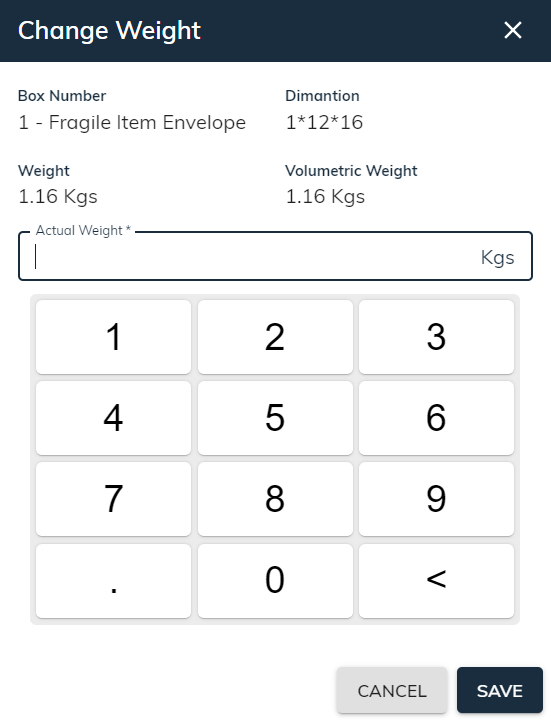
- Click the "Change" button to open a dialog where users can adjust the box weight, ensuring accurate weight information for shipping and handling.
Packing material, printer selection, and pack confirmation section.
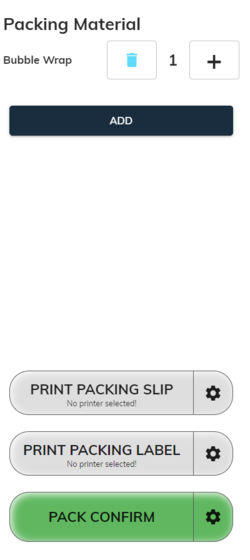
Packing Material
Packing material is used to wrap and secure boxes, providing protection during storage and shipment. It ensures items are safe and well-protected throughout the warehouse handling process.
Click the "Add" button to open the Packing Material list and select the appropriate packing material, ensuring proper wrapping and protection for your items.
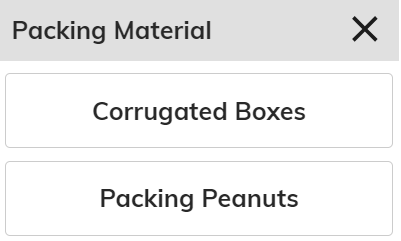
Employees can easily adjust the material quantity by using the "-" and "+" buttons, allowing for quick changes to the amount of packing material needed.
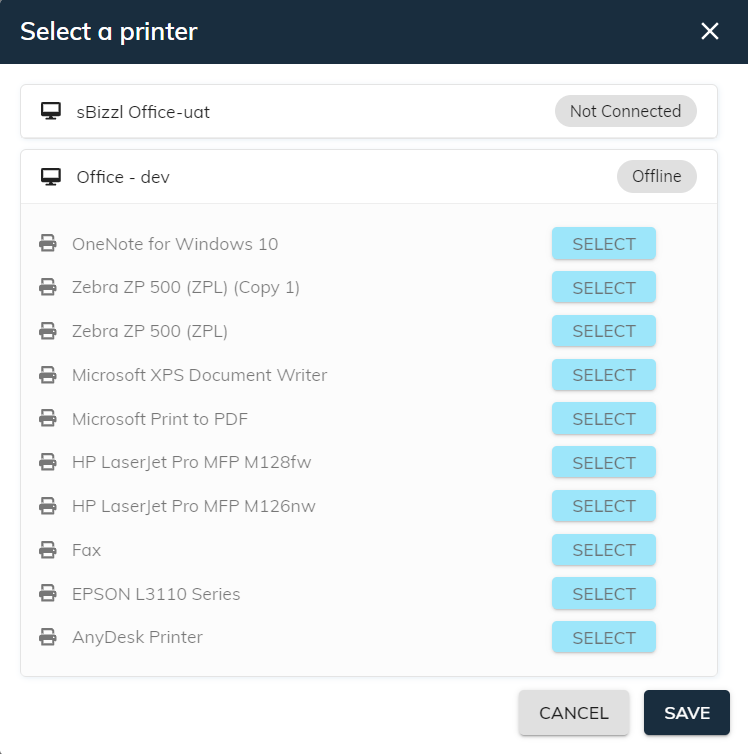
- Use "Print Packing Slip" and "Print Packing Label" buttons to select the printer. Clicking these buttons opens a modal for choosing the desired printer before printing packing documents and labels.
The "Pack Confirm" is used to finalize and confirm the packing process. It ensures that all items are correctly packed and verifies the completion of packing tasks.
Upon successful packing confirmation, you will be navigated back to the previous screen, completing the packing process and allowing you to continue with other tasks.
Edit Packing
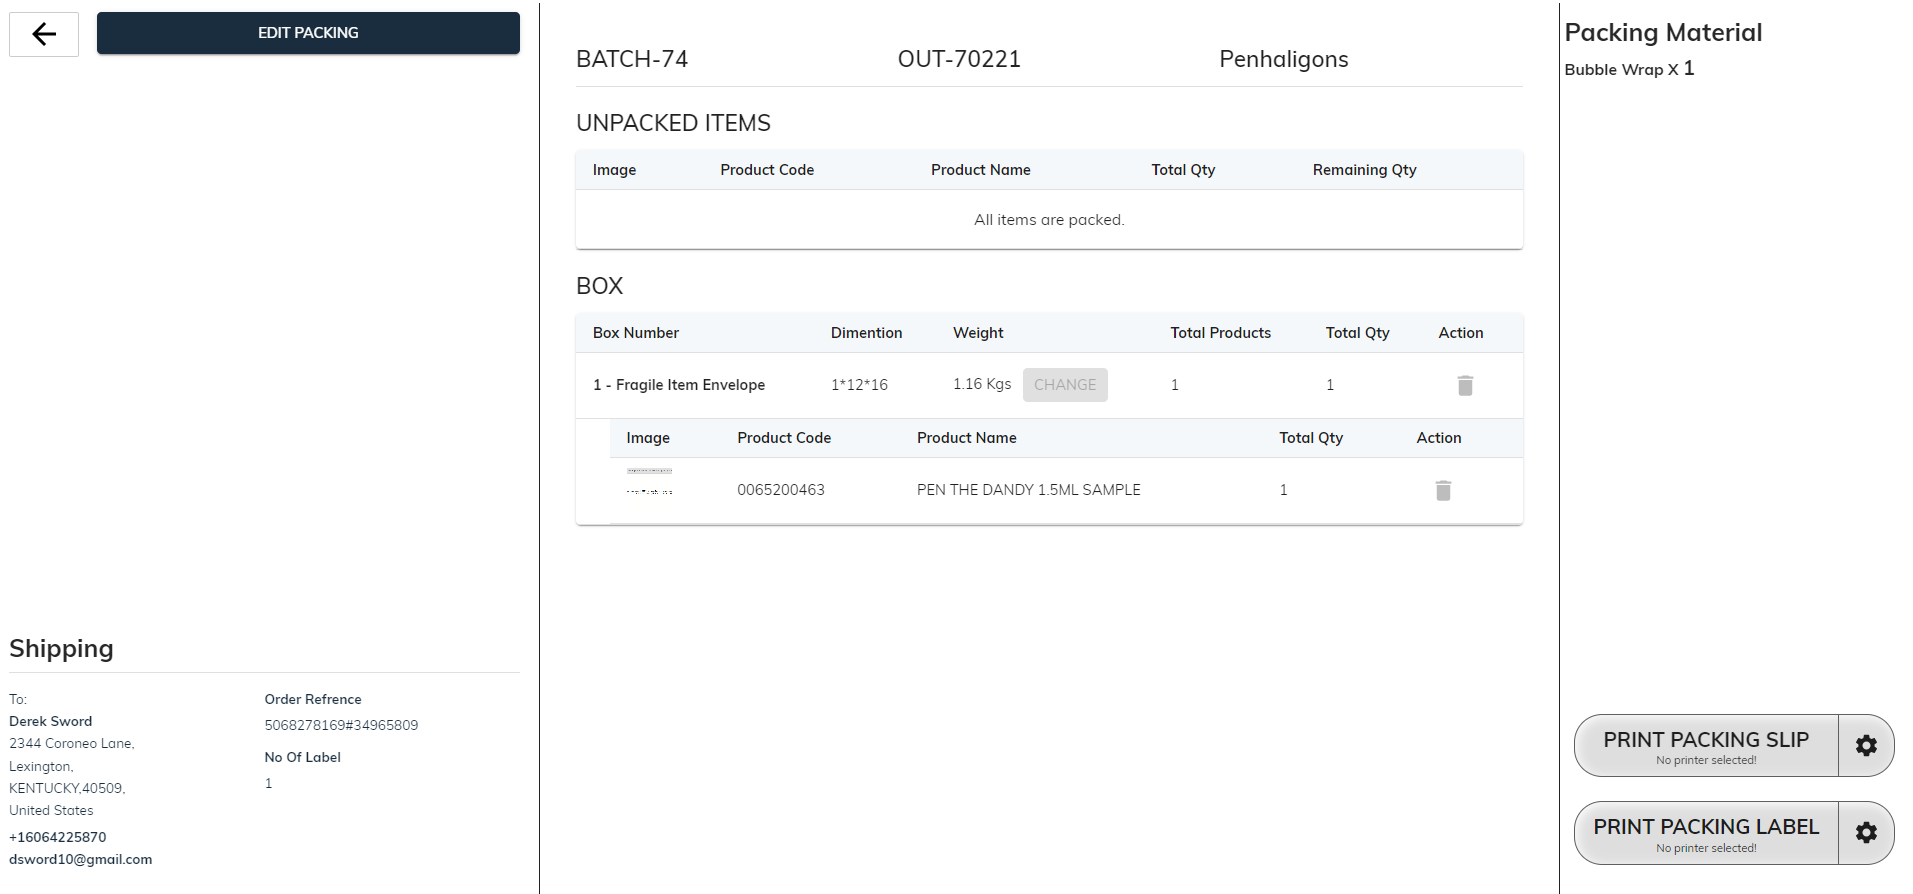
In the "Edit Outbound Packing" screen, the default view is read-only mode, allowing users to review information without making changes until the mode is switched to editable.
Click the "Edit Packing" button to switch to editable mode, allowing users to modify packing information and make necessary updates.